Monday, February 29, 2016

Reversible Hat and Neck Warmer

It's a hat. It's a neck warmer. It's ANOTHER HAT!!


I've seen quite a few of these hat/neck warmer combos here in Japan. This is my version.

It is knitted in the round with three main sections: hat 1, brim and hat 2. Each section is approx. 16 cm (6 1/4 in.)

Materials:

Fingering/Sport weight wool
Main Colour (MC) - 283 m (309 yd)
Contrast 1 (C1) - 22 m (24 yd)
Contrast 2 (C2) - 22 m (24 yd)

US size 3 (3.25mm) circular needle or DPNs, crochet hook, stitch marker, tapestry needle.

Size:

This hat is a fairly snug fit on my head (54 cm/21 in.) If you prefer a bit more room, you can easily cast on more stitches (modifying the cable pattern by adding more purl stitches) or use larger needles.

Hat 1 (Cable Hat)

Cast on 120 stitches using a provisional cast-on. I like this one from ysolda.com.
Knit one round in MC and join stitches, being careful not to twist the row.

Work in pattern until the piece reaches approx 14 cm (5 1/2 in.) The cable pattern is 20 stitches repeated six times (120 stitches.)

(This chart was made using Stitch Fiddle. Try it out. It's awesome!)

Customise it!
The cable pattern above is just a suggestion. You can bring all cables forward to make regular twisty cables or you can cable every 8 rows on both sides to have continuous cables.


Once it measures 14 cm (5 1/2 in,) decrease 36 stitches evenly throughout the next row.
Example: [P2tog, P2tog, k2, k2tog, k2] 12 times - 84 stitches.

Keep knitting in stocking stitch until the hat measures 16 cm (6 1/4 in.)

When the hat measures 16 cm (6 1/4 in,) decrease every second stitch (either k2tog or p2tog every stitch) - 42 stitches.

Knit one row.

Decrease every second stitch again - 21 stitches.

Use a tapestry needle to pull the yarn through the remaining loops. Pull tight and tie off. Weave in the loose end.


It's a good idea to try it on for size at this point. It should just cover your hairline and reach the tops of your ears. If it doesn't, don't worry! You can add a few extra rows to the brim section.


2. Brim


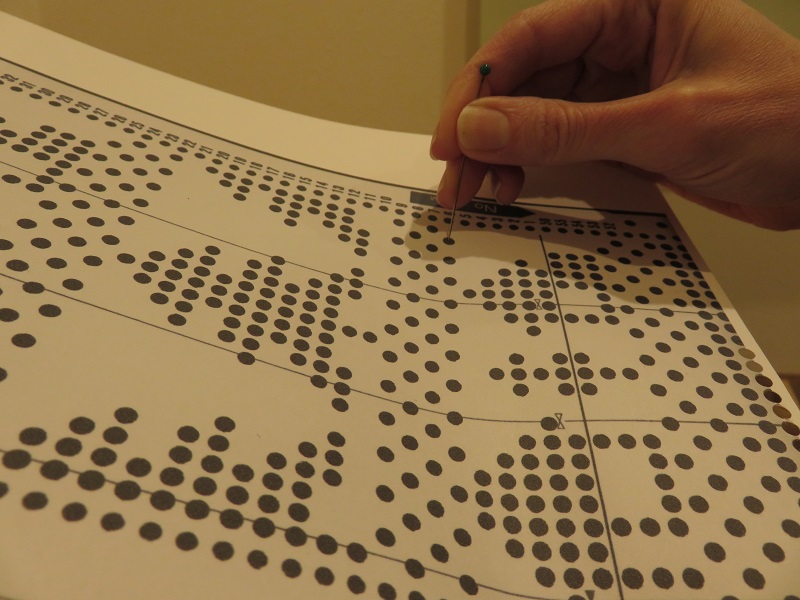
Next, pick up the 120 stitches from the provisional cast-on and place them on a circular needle (or DPNs if you prefer.)

Place a stitch marker at the beginning of the row. I used a paperclip!

Knit in stocking stitch until the brim section measures 16 cm (6 1/4 in) from the stitch marker.

Hat 2 (Striped hat)


Now it's time for the striped section. Move the stitch marker to the start of the current row.  For my hat, I knitted the following:

MC x 6 rows
C1 x 6 rows
MC x 6 rows
C2 x 6 rows

Repeating this pattern twice brought me to around 14 cm (5 1/2 in.)

Customise it! This section doesn't have to be stripes. You could knit it in stocking stitch with some fancy yarn. If you do a fair isle pattern, you will need to increase the number of stitches as fair isle knitting is less stretchy.


Decrease 36 stitches evenly over the next row.
Example: [k2, k2tog, k1 k2tog, k1, k2tog] x 12 times. - 84 stitches

If the stitches are a bit tight, you can switch to DPNs at this point.

Knit in stocking stitch until hat measures 16 cm (6 1/4 in) from stitch marker.

Decrease 42 stitches evenly over the next row - k2tog to end. - 42 stitches.

Knit 1 row.

Decrease 21 stitches evenly over the next row - k2tog to end - 21 stitches.

Use a tapestry needle to pull the yarn through the remaining loops. Pull tight and tie off. Weave in the loose end.

Next, use a crochet hook to make the loop. Make a slipknot on the crochet hook and make a chain approx. 15 cm (6 in) long.

SC into each chain and tie off.


Attach the loop to the top of one of the hats.

Customise it!
If you prefer, you can use a piece of elastic or some decorative cord.

Attach a pom pom (approx 7cm or 2 3/4 in) and it's done! 


When wearing as a hat, you can either leave the brim down or use your fingers to create a tuck all around.

Happy knitting!

Friday, February 12, 2016

パンチカードを作ってみよう! Making your own punch cards

中古で買った編み機にはパンチカードが付いていなかったので自分で作れないかと考えました。いろいろ調べているうちに、machineknittingetc.com にたどり着きました。そこには何と!すべてのブラザー機パンチカードのスキャンがありました。やったぁ~!
リンクはここです↓
http://machineknittingetc.com/brother-knitking/punch-cards.html

パンチカードを見ると正直、どれもちょっとダサい感じで・・・ 編んでみたいと思ったのはこの模様ぐらいでした。

My second-hand knitting machine didn't come with punch cards so I did a bit of research to see if I could make them myself. I ended up at machineknittingetc.com where they have scans of all of the punch card sets for Brother machines. Hooray!

Unfortunately, most of the patterns are really out of date but I managed to find one I wanted to knit.

 Here they are!
 http://machineknittingetc.com/brother-knitking/punch-cards.html

用意するのはこれ↓
 You need the following items:


ケント紙 (100円ショップで買いました)
ブラザーパンチ
プリンター

ブラザーパンチはなかなか手に入らないのでEbayでHandy Punch PM3(偽ブラザーパンチですからシスターパンチと名付けましょう)を購入。

Kent Paper (around 180 gsm, purchased at the 100 yen shop)
Brother Punch
A printer

Brother punches are kind of hard to find so I bought a Handy Punch PM3 on Ebay. It's an (unauthorized?) copy of the Brother Punch so I guess that would make it a Sister punch...
 

パンチカードを切り抜いてからピンを使って各穴の真ん中に小さな穴を開けます。この小さな穴がないとシスターパンチは作動しません。
それが終わったらひたすらパチン、パチンとします。かなり時間がかかりました。
そこで気づきました。パンチカードの穴は直径4ミリですが、両端のガイド穴は3ミリ。どうしよう。
アマゾンを検索すると3ミリパンチを発見!ふたを取ってから逆さにして、穴に合わせると綺麗に穴をあけられます。


Cut out the punch card and get ready to start punching! But before you do, you need to make a small pinhole in each punch card hole. The Sister punch won't work unless there is a pinhole in the middle. Then it's just punch, punch, punch. It took much longer than I expected.
It was then that I realized that while the punch card holes are 4mm, the guide holes on each side are 3mm. Luckily, I found a 3mm hole punch on Amazon JP. After removing the plastic cap and turning it upside down, it was easy to make the guide holes.


できた!
Success!


そして編んでみました。わぁー、パンチカードってらくらく~!模様が切れているところがあるけど私のせいです。パンチカードクリップの付け方を間違いました。あっちこっち模様が出ていないところもあります。穴は少しずれたのかな?

I did a test knit with my new punch card. It was soooo easy! The bit where the pattern is cut off is my fault - I didn't put the card clips on properly. There were a couple of errors but that's probably due to my poor card punching skills.


一からパンチカードを作っている暇はない!と思っている方は少なくないと思います。実はもっと簡単な方法があります。Ebayで編み機用のフリーカードを売っています。次回はそれを使ってみます。

I'm sure by now you're thinking that you have neither the time or the patience to make a punch card from scratch. You'll be happy to know that they sell blank punch cards on Ebay. Hooray! Next time I will try using one of these.
.


Sunday, February 7, 2016

ブラザー パリエA KH891 取扱説明書

編み機の場合、一番先になくなる付属品は取扱説明書とパンチカード。
私は手元にあるパリエA KH-891の取説をスキャンしてmachineknittingetc.comにアップしていただきました。

リンクはこちらです。

http://machineknittingetc.com/downloadable/download/sample/sample_id/1062/

コピーのスキャンなので文字は少し薄いですが、十分使えると思います。また、パンチカードとニットリーダーの使い方も載っていますので他のパリエ(KH-871, KH-881など)をお持ちの方でも参考になります。

違う機種の取説をお持ちの方、ぜひ(ぜひ!)スキャンして共有してください。 ここにリンクを貼ります!よろしくお願いいたします。

次回はパンチカードを作ってみます。

Thursday, February 4, 2016

ブラザー編み機の付属品 Brother Knitting Machine Accessories

それでは、ブラザー編み機に付いている付属品をみてみましょう。(KH-891の取説より)
*の付いているものは必需品。
Let's have a look at accessories included with Brother knitting machines (from the KH-891 manual)
Items with an * are required.

*糸取装置 Yarn tension unit
*編み出シ Cast-on comb
トジワイヤー Wire for cast-on comb
*補助レール Extension rails (x2)
*シートケース Knit leader sheet case
*シート Knit leader sheet
*編目スケール Gauge scales (x30)
パンチカード Punch cards (x20)
*シートガイド Knit leader sheet guide (x2)
*Lキャリジ Lace carriage
部品箱 Accessory case
*ウツシ Transfer tools (2x3, 1x3, 1x2)
*タッピ Latch tool
カギ針 Crochet hook
*模様板 Needle pusher
*カラーウェイト Claw weights (x2)
トジ針 Tapestry needle
パラフィン(ケース付き)Yarn wax (with case)
*Lポイントカム Lace point cam
*ワンポイントカム One-point cam
*カードスナップ Punch card snaps (x4)
*添え糸・アーガイル用糸口 Plating yarn feeder
手入れ油 Oil
抜き糸 Cast-on thread
編み針 Spare needles (x3)
*取付金具 Table clamps (x2)
*キャリジ止め金 Carriage Lock
手バケ Hand brush
名札 Name plate
ブラザーペン Brother marker pen

オークションなどで中古編み機を購入する場合、付属品を確認してから入札してください。
Be sure to confirm that all of the necessary accessories are included before bidding on a second-hand knitting machine.