Wednesday, December 28, 2016

Super Deluxe Knitting Machine Cover Tutorial


Welcome to Part 2 of my Trouser Transformation series!


With just one pair of trousers, you can make a fabulous Super Deluxe Knitting Machine Cover.

You will need:

1 pair of trousers
3 cm piece of velcro
Optional - 20 cm of elastic (for the loop)
Optional - 4 x 10 cm pieces of elastic (for the corners)


Step 1


Cut out the pieces as shown below. All pieces (except the velcro tab) have a 1.5 cm seam allowance. This cover is made to fit a standard Brother machine.
For this pattern I decided to use a sewing machine only, no overlocker. The seams I have used are known as clean seams (or turn and stitch seams). The seam allowance is turned under and sewn to hide the raw edge.

You can easily use an overlocker or other finishing technique to make this pattern. I didn't want the chance of anything catching on the needles. If you prefer not to do the extra finishing steps, please ignore them.

Here are the pieces. You can probably see that I have embroidered one. I messed it up big-time (embroidery machines are almost as temperamental as knitting machines!) I decided to soldier on, despite the unscheduled holes in my fabric.


Step 2


Pin the short sides of the top panels together. Mark 7 cm from one edge and then sew from the mark to the bottom edge of the fabric. This will be the opening for the tension mast.


And here we are! You can see that I have folded the seam allowances back, ready to be sewn down.


Once you have sewn down the seam allowances, do some reinforcing at the beginning of the seam where you made the mark.


Step 3

Next, sew the short sides of the two front panels. Finish the seams as desired.


Attach the joined front panels to the front of the top panels (the opposite side to the opening.)
Finish the seams.


Make a 7mm double folded hem at one short end of both of the back panels. 


Attach the back panels to the back of the top panels, matching the edges to the opening in the middle.


Step 5

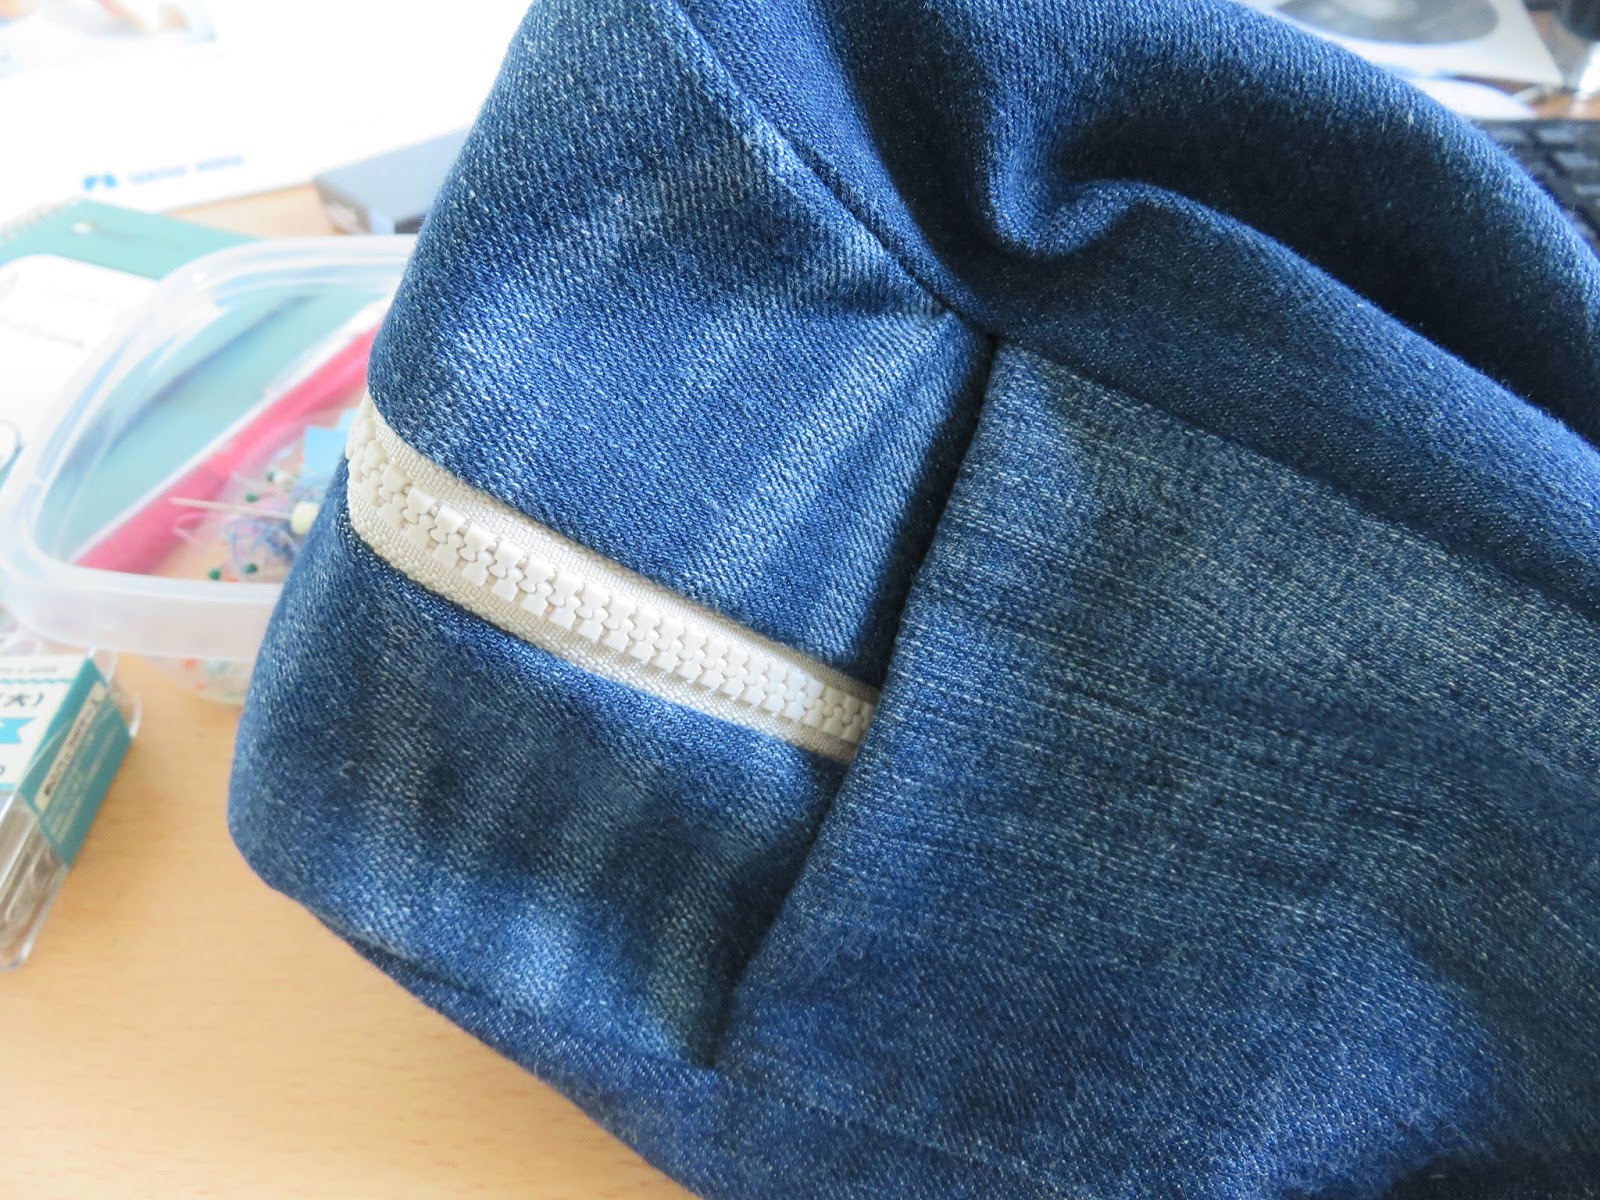
Next, we sew the corners. This is pretty tricky but it should end up looking like this.


As I am a perfectionist, I decided to use 5mm fusible webbing to turn back the seams and keep them in place before sewing.


And there is a finished corner! It's not all that pretty but if you use a matching thread, it shouldn't be too visible.


Step 6


Now we turn up a 1 cm double folded hem around the bottom edge. If you don't have a Hot Hemmer, run to your nearest craft store NOW and get one. It changed my life.


Step 8


Next, the velcro tab. I made a 5 mm double folded hem on all sides (because I am a glutton for punishment) but you can finish the edges any way you desire.


Finally, add velcro to the tab and the panel on the opposite side and you are done!


Optional extras
I added an elastic loop to one of the side panels so I can roll it up and store the cover when it is not in use.
I also added 10 cm of elastic to each of the corners (stretch while sewing!) to ensure a snug fit.


It turned out rather well but I probably should have repositioned the opening 1-2 cm to the right! Oh well, there's always next time.


Saturday, December 10, 2016

Knitting Machine Dust Cover Tutorial Part 2

 
So our basic knitting machine cover is done. Now, let's do some finishing.

Step 7

Decorative stitching! Thread up your machine with your contrast thread and you're ready to go.

This step isn't really necessary but it gives the bag a bit more structure and makes it look pretty.

Give the whole cover a good iron, pressing all seams toward to zipper. Don't accidentally press your zipper if it is plastic. Learn from my fail.

First, topstitch around the bottom piece, close to the seam and stopping at the zipper. You should be sewing through three layers of fabric. The ends are a bit tricky - rearrange the fabric so it lies as flat as possible.


Next, we topstitch the seam joining the side to the zipper band. Keep the seam pressed to the zipper side and sew through three layers of fabric. Do the same to the other side.

As before, your machine might have trouble sewing over the centre seam. Just give it a gentle tug to the back while sewing.

Finally, topstitch along the edge of the zipper on both sides.

Step 8

Finally, it's time for the optional velcro tab. It's not really necessary but it prevents you grazing your knuckles on the zipper teeth (important if you have a metal zip.)

Press the 1 cm seam allowance all around and topstitch two rows of stitch, approx. 5 mm apart.


Now it's time to attach it to the cover. Fold the tab in half lengthwise and mark the middle. Fold it crosswise and mark the middle again.

Line up the markings with the zipper and the centre seam.


Pin and sew one side in a U shape. Just enough to attach the end of the tab securely.


Finally, get a 5 cm strip of velcro. Sew one side to the tab and the other to the cover.


Ta daaaa! Your knuckles are safe!


And here we have it, the finished product. Thanks for reading this far.


Just a word of warning. Please DO NOT pick up your knitting machine using only the cover. The seams are not strong enough to bear the weight you may dent or damage your precious machine. Always use the handle on the case.


I place no restrictions on the use of this pattern (but don't sell this pattern as-is on Etsy, that's not cool.) Feel free to adapt it as required. If you wish, you can sell items made using this pattern. All I ask is that you credit me as the designer or link back to my blog. Thanks!

I look forward to seeing your creations. Please link back to me or leave a link in the comments!


Knitting Machine Dust Cover Tutorial - Part 1


I wanted to make a cover for my knitting machine and started thinking - where can I get long strips of fabric? Hmmm... Then the lightbulb went on.

Yes! I can use those old maternity jeans in my closet.

This is how you transform old jeans into a cool new cover for your knitting machine.

Materials

You will need:

Two pairs of stretch jeans (the bigger the better!)
One 180 cm zipper with two sliders that meet in the middle
Velcro (approx. 5 cm) - optional
Thicker contrasting thread for topstitching
Note: This pattern is designed to fit a standard gauge Brother machine (H10 x W106 x D23 cm)
The fit is baggy enough to include the handle and the clamp fittings on the bottom. If you prefer a tighter fit, adjust as necessary. As we are using reclaimed fabric, the fit may vary.


Cutting


Step 1
Unpick the inner and outer leg seams so the front and back of the jeans are separated. This takes a bit of time so be patient!


Step 2

Download the pattern pieces here. Print them out, cut out the pieces and stick them together with tape.

*A 1 cm seam allowance is included in all pieces.*

Pin the pieces to the fabric, following the grain wherever possible. The side pieces are the biggest so it's a good idea to use the back side of the jeans because it has more fabric ('cos that's where your bottom goes!).

Cut out the pieces and then overlock/serge everything. Denim frays easily so this is an important step. If you don't have an overlocker, you can use zig zag stitch or overcast stitch on your sewing machine. This is what you end up with (minus the optional velcro tab.)

Sewing

Step 3
First up, sew the side pieces together (the squared off sides, not the rounded ones.) Press the seam open and then do some decorative topstitching approx. 5 mm from each side of the seam with your contrasting thread. A 3.5 mm stitch length is just right.

If you wish to embroider a design on the side pieces, now is the time to do it. Don't forget about the 1 cm seam allowance.
 

Do the same to the bottom and zipper band pieces.


This is what the stitching looks like up close.


You now have five large pieces plus the optional velcro tab.

Step 4
We sew!

Pin one side piece to one zipper band piece, right sides together. Make sure there is enough fabric to go around the corners. The seam in the middle is the top where your machine's handle will be.

Start in the middle (where the centre seam is) and sew around and down to the bottom. Leave the last 2 cm of the seam unstitched. Don't worry if you forget, can always unpick it. Start in the middle again and sew down and around the other side.

The centre seam gets pretty thick so if your machine is having trouble feeding the fabric, just give a gentle pull toward the back between stitches to help it through.


Do the same with the other side piece and zipper band piece.

Go slowly when sewing around the corners, stopping to lift the foot and adjust the fabric every few stitches. Make sure that the edges of the fabric meet and that there is no extra fabric getting caught in the seam. The zipper band is longer than necessary so don't be afraid to give a little extra fabric in the corners.

Now is a good time to try it on for size. Pop one of the pieces on your machine to see how it fits. Adjust if necessary.


The finished zipper band (with zip) should be approx. 10 cm in width.

Step 5
Attach the zip. Mark the centre of the zip and place the mark on the centre seam. Place the zip face down on the zipper band, right sides together. Don't worry if the zip is longer than the zipper band, that's OK.

Use your zipper foot and sew in one side of the zip. The zip in the picture is upside down, right sides together.


Pin the other side of the zip to the zipper band on the other piece. Again, line up the centre mark on the zip with the centre seam. Sew.


Step 6

Attach the bottom piece.

Pin the bottom piece to the bottom side of the side piece right sides together, matching the centre seams. Sew as far as you can go before meeting the side/zipper band seam

Sew the other side in the same manner.
The bottom piece is also longer than necessary so you will have some extra fabric at the ends.

If you turn it out to the right side, it should look like this. Adjust if it looks a bit wonky. We'll make it look a bit nicer when we do the finishing.


So now we have our basic knitting machine bag done. It looks OK but lacks a certain something.


In part 2 of this tutorial, we add the finishing touches and make the optional velcro tab.

Monday, February 29, 2016

Reversible Hat and Neck Warmer

It's a hat. It's a neck warmer. It's ANOTHER HAT!!


I've seen quite a few of these hat/neck warmer combos here in Japan. This is my version.

It is knitted in the round with three main sections: hat 1, brim and hat 2. Each section is approx. 16 cm (6 1/4 in.)

Materials:

Fingering/Sport weight wool
Main Colour (MC) - 283 m (309 yd)
Contrast 1 (C1) - 22 m (24 yd)
Contrast 2 (C2) - 22 m (24 yd)

US size 3 (3.25mm) circular needle or DPNs, crochet hook, stitch marker, tapestry needle.

Size:

This hat is a fairly snug fit on my head (54 cm/21 in.) If you prefer a bit more room, you can easily cast on more stitches (modifying the cable pattern by adding more purl stitches) or use larger needles.

Hat 1 (Cable Hat)

Cast on 120 stitches using a provisional cast-on. I like this one from ysolda.com.
Knit one round in MC and join stitches, being careful not to twist the row.

Work in pattern until the piece reaches approx 14 cm (5 1/2 in.) The cable pattern is 20 stitches repeated six times (120 stitches.)

(This chart was made using Stitch Fiddle. Try it out. It's awesome!)

Customise it!
The cable pattern above is just a suggestion. You can bring all cables forward to make regular twisty cables or you can cable every 8 rows on both sides to have continuous cables.


Once it measures 14 cm (5 1/2 in,) decrease 36 stitches evenly throughout the next row.
Example: [P2tog, P2tog, k2, k2tog, k2] 12 times - 84 stitches.

Keep knitting in stocking stitch until the hat measures 16 cm (6 1/4 in.)

When the hat measures 16 cm (6 1/4 in,) decrease every second stitch (either k2tog or p2tog every stitch) - 42 stitches.

Knit one row.

Decrease every second stitch again - 21 stitches.

Use a tapestry needle to pull the yarn through the remaining loops. Pull tight and tie off. Weave in the loose end.


It's a good idea to try it on for size at this point. It should just cover your hairline and reach the tops of your ears. If it doesn't, don't worry! You can add a few extra rows to the brim section.


2. Brim


Next, pick up the 120 stitches from the provisional cast-on and place them on a circular needle (or DPNs if you prefer.)

Place a stitch marker at the beginning of the row. I used a paperclip!

Knit in stocking stitch until the brim section measures 16 cm (6 1/4 in) from the stitch marker.

Hat 2 (Striped hat)


Now it's time for the striped section. Move the stitch marker to the start of the current row.  For my hat, I knitted the following:

MC x 6 rows
C1 x 6 rows
MC x 6 rows
C2 x 6 rows

Repeating this pattern twice brought me to around 14 cm (5 1/2 in.)

Customise it! This section doesn't have to be stripes. You could knit it in stocking stitch with some fancy yarn. If you do a fair isle pattern, you will need to increase the number of stitches as fair isle knitting is less stretchy.


Decrease 36 stitches evenly over the next row.
Example: [k2, k2tog, k1 k2tog, k1, k2tog] x 12 times. - 84 stitches

If the stitches are a bit tight, you can switch to DPNs at this point.

Knit in stocking stitch until hat measures 16 cm (6 1/4 in) from stitch marker.

Decrease 42 stitches evenly over the next row - k2tog to end. - 42 stitches.

Knit 1 row.

Decrease 21 stitches evenly over the next row - k2tog to end - 21 stitches.

Use a tapestry needle to pull the yarn through the remaining loops. Pull tight and tie off. Weave in the loose end.

Next, use a crochet hook to make the loop. Make a slipknot on the crochet hook and make a chain approx. 15 cm (6 in) long.

SC into each chain and tie off.


Attach the loop to the top of one of the hats.

Customise it!
If you prefer, you can use a piece of elastic or some decorative cord.

Attach a pom pom (approx 7cm or 2 3/4 in) and it's done! 


When wearing as a hat, you can either leave the brim down or use your fingers to create a tuck all around.

Happy knitting!